Vintage can represent the moment of truth a picture and can in a real sense ruin to the ultimate result whenever overcooked. I’ve never been a major devotee of the vintage include in Lightroom, yet that is not a result of what it does or how I use it. It’s basically a result of its endurance. Working post-crop, the vignette highlight moves in from the edges of the edge at whatever power you want for the completed piece. Yet, that is it: it applies from the edges. Imagine a scenario in which you could move it and apply it to any place you need and have greater adaptability simultaneously. Would this be more advantageous?
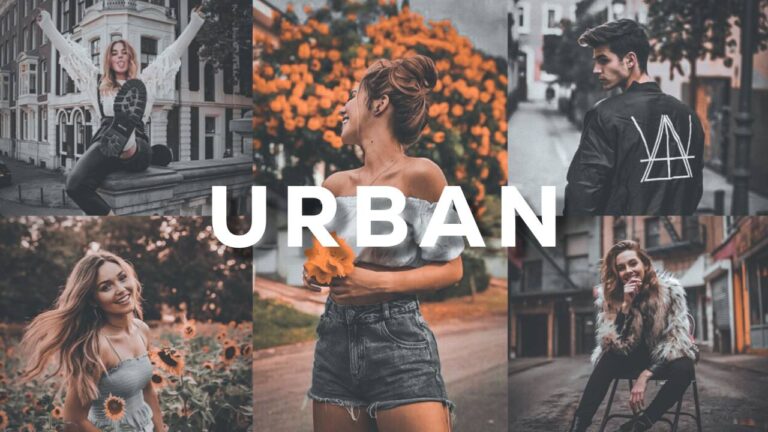
Editrend’s Dark Assortment will assist you with making dazzling shading pictures with straightforward a single tick presets. Add clear tone and fly to your photographs with alternatives going from delicate and clean tone to unpretentious matte, and obviously emotional rich shading sky – ideal for youngster and family pictures, weddings, design and scene photographic artists all throughout the planet.
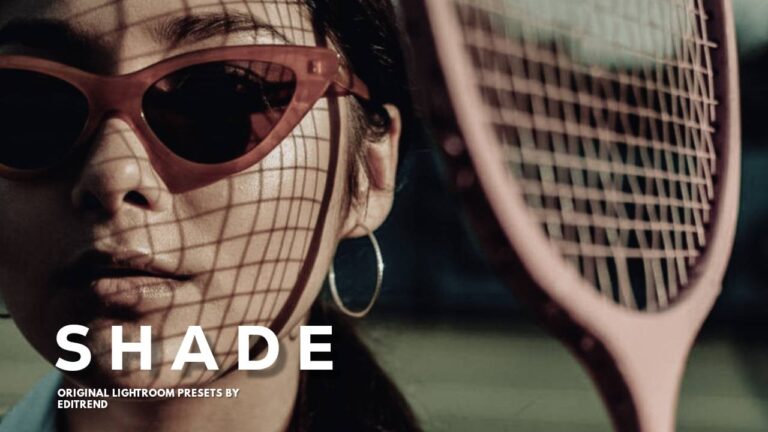
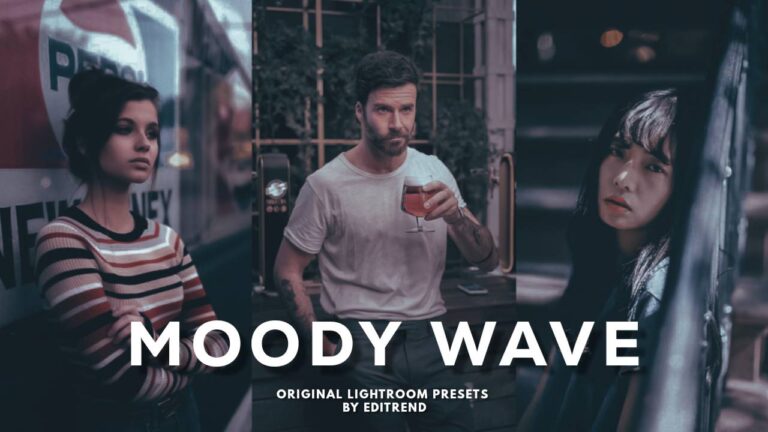
Editrend’s Prime Vintage Presets will help you with making stunning concealing pictures with direct a solitary tick presets. Add clear tone and fly to your photos with choices going from sensitive and clean tone to honest matte, and clearly passionate rich concealing sky – ideal for adolescent and family pictures, weddings, plan and scene photographic craftsmen all through the planet. The vintage presets extraordinarily intended for open air photography, it’s likewise a piece of our dull presets assortments.
Vintage in Lightroom and show you the best way to save it for future alters, which will permit you to make vignettes that turn out better for your pictures The reward is the way toward making it is basic.
Under the Histogram board in Lightroom, pick the Radial Filter Tool. Presently, it truly doesn’t make any difference what slider you pick here, as it’s totally editable when completed, however how about we simply go with the Exposure slider. Move that back into the less region. I’ve gone for – 1.10, as demonstrated beneath. Guarantee that Invert isn’t checked, or you’ll simply make a dim outspread with these settings.
Then, click on the Custom tab at the top, and in the dropdown menu that shows up, select Save Current Settings as New Preset and pick a name for the preset. As should be obvious, I’ve named mine Vignette.
Truly, that is it. That’s all there is to it! However, this is additionally where the pleasant starts. Everything inside the Radial control board would now be able to be utilized to control your Vignette. Openness, Contrast, Highlights, Shadows, etc, including Color and Range Masks. Everything would now be able to be applied to your recently made Preset, in addition to you can situate it any place you need in the picture. The excellence of it is that it’s saved in your dropdown menu for future alters.
As we are constantly attracted to the lightest pieces of a picture, I needed to make a custom vignette that wouldn’t interrupt the dusk and in this way fix the sort of look I was going for with the alter. This is the place where my recently made Radial Vignette would make its mark.
I think that its simpler to zoom out and to see the master plan. Doing this permits me to see the impact over the whole picture and furthermore permits considerably more command over the position of the vignette.
Setting the focal point of the vignette simply over the nightfall and squeezing the letter O on the console permits me to draw in the cover perceivability with the goal that I could see where the vignette was and which parts of the picture it was influencing. Actually, I utilize the Mask include on the console often, as it gives me high perceivability of the veiled territory, which I discover simpler prior to initiating with any changes.
Starting here, I can utilize any of the sliders in the Radial board to change the vignette to how I need it to be for the last picture. On the off chance that I needed to for instance to be more imaginative and add a tone to the vignette, I would basically pick a tone, and it is applied to the spaces that were appeared in the cover.
I was content with the vignette and its situating, yet it had infringed onto a few regions that I didn’t need it to. Along these lines, I chose Brush in the board, at that point Erase (both demonstrated beneath), and eliminated the undesired territory, making sure to change my stream to the ideal sum. Less stream, milder eradicate. More stream, more eradicated. It’s altogether up to you.
This is a basic yet powerful approach to make, use, and save another Radial Vignette Preset, that is absolutely adjustable and editable utilizing the Radial board sliders. Each time you utilize the Radial Vignette, it will return to the first saved preset, for this situation, Exposure – 1.10, and you should dial in new changes that suit each picture independently. The excellence of it is that you currently have a totally moveable and flexible custom Vignette Tool that you can use to quietly accentuate the spaces of your picture that you need and not be left with edge vignetting and the limitations of less inventive yield while understanding your completed picture
𝗥𝗘𝗔𝗗 𝗧𝗛𝗜𝗦 𝗕𝗘𝗙𝗢𝗥𝗘 𝗗𝗢𝗪𝗡𝗟𝗢𝗔𝗗 :
This Preset is available in DNG format for Android & IOS both. You can get this preset for FREE by following the instructions below.
The download file is protected by a password, if you don’t have the password just click here and follow the instruction given in description.
ABOUT THIS PRESETS :
Presets Name : Prime Vintage
File Size : 5 MB
App Used : Adobe Lightroom
File Type : .dng
LET’S BE THE FRIENDS :
𝗙𝗮𝗰𝗲𝗯𝗼𝗼𝗸 𝗣𝗮𝗴𝗲 : https://www.facebook.com/imbhagiraths…
𝗜𝗻𝘀𝘁𝗮𝗴𝗿𝗮𝗺 : https://instagram.com/imbhagirathsinh…
HOW TO USE THIS PRESETS :
𝗡OTE :
Sometimes presets doesn’t work properly on every photo so try to some settings manually to get better output on your photos.
𝗗𝗜𝗦𝗖𝗟𝗔𝗜𝗠𝗘𝗥 :
All photos are used in this article is just for illustration purpose only.
This is the own presets by Editrend Do not sell or reupload this presets.